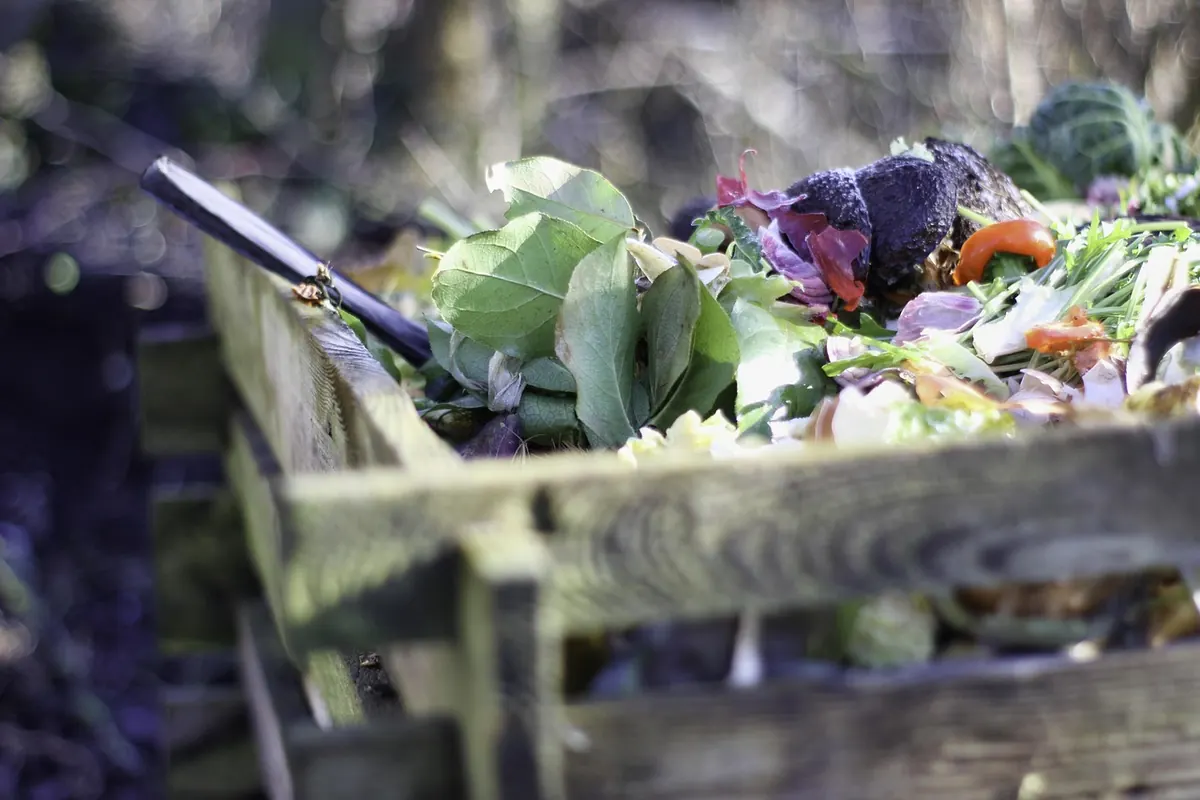
There's a particular afternoon in late winter when the ground is too wet to dig and the seed catalogues are starting to look tempting. On days like that, a no-dig patch makes a great deal of sense. Instead of turning the soil, you feed it from above and let the worms, fungi and beetles do the heavy work. You can build a bed in an afternoon, plant into it within weeks, and keep it going year after year without the annual ritual of hard graft.
No-dig isn't a shortcut or a passing fashion. It treats soil as a living structure rather than a container for roots. Get the first bed right and you'll spend your summers picking rather than digging.
Country plots come in every shape: a corner of an old paddock, a strip behind the shed, a lawn that's been mown short for thirty years. Most have one thing in common — plenty of space, never quite enough time.
Digging wakes up buried weed seeds and slices through the fungal threads and worm burrows that move water and nutrients through the soil. Leave it alone and those networks stay intact. The ground stays darker, holds moisture better in a dry July, and doesn't slump into a hard pan after heavy rain.
It also works on ground you'd rather not fight: rough grass, an overgrown border, a tired old vegetable plot full of dock and creeping buttercup.
Gather everything first so you're not halfway through with a wind rising and a pile of dry cardboard trying to leave the county.
Make beds about 1.2m wide so you can reach the middle from either side without stepping on the soil. Length is up to you — 2–3m is a sensible start. Keep permanent paths between beds, wide enough for a barrow.
Most vegetables want sun for at least half the day. Salad leaves and chard will tolerate a bit of shade, but tomatoes, beans and squash will sulk. No-dig does not fix bad drainage, so avoid the hollow at the bottom of the garden where water stands in January. If that's the only space you have, build the bed up higher and add extra compost.
You can plant the same day. Scoop a hole through the compost with a trowel, right down to the cardboard, set the transplant in, firm it gently and water it well. Roots will find their way through the softening cardboard within a couple of weeks. Water the first few days, then let the mulch and the soil beneath do their work.
Start with strong, leafy things that transplant well: kale, cabbages, chard, leeks, courgettes, squash, tomatoes and beans. These will settle in and cover the ground quickly, shading out anything trying to come up.
Potatoes are a good first-year crop on new ground. Lay the seed potatoes on the surface, cover them with compost or straw, and earth them up with more of the same as the shoots appear. You'll get a decent crop and the haulms will die back and feed the soil.
Root crops are the exception. Carrots and parsnips prefer a fine, deep tilth and may fork if the layer beneath is lumpy. Sow them in a shallow drill filled with sieved compost, keep them watered, and accept that the first year's roots may be a little eccentric. They'll still taste good.
Avoid sowing tiny seeds directly onto fresh cardboard in cold weather unless you can keep the surface damp — the cardboard below can dry the top layer out faster than you'd expect.
Once a bed is made, the routine is simple. Each autumn or early spring, spread 3–5cm of compost over the surface and let the worms pull it down. That's the whole feeding programme.
Slugs and snails. Damp cardboard is a fine place to hide, and young transplants are tender. Water in the morning rather than the evening, keep the surrounding grass tidy, and go out with a torch after rain. Frogs, hedgehogs and blackbirds will do a lot of the work for you if you leave them somewhere to live.
Perennial weeds. Couch grass and bindweed may push through a single layer of cardboard. Add a second layer, or pull the shoots as soon as they appear — regularly, and before they get a grip. Bindweed in particular is far easier to weaken in year one than to evict in year three.
Dry patches. Cardboard can wick moisture away from the compost above it. Push a finger in now and then; if it's dust dry an inch down, water properly rather than sprinkling.
Small rodents. Mice and voles sometimes shelter under new cardboard. It's rarely a serious problem, and it settles once the cardboard rots down into the soil.
Pick two or three square metres for your first bed. Lay cardboard in autumn and it will be settled and workable by spring; lay it in spring and you can plant transplants within a fortnight. Keep the paths mulched, top up with compost once a year, and resist the urge to interfere.
Then, next winter, when the ground is too wet to dig, make another bed alongside it. Three years of that and you'll have a productive plot built on nothing more than waste cardboard, homemade compost and patience — and a soil that gets better every season without you lifting a spade.
Photo: herb007 / Pixabay
A practical checklist of the rural waste mistakes that cost you time, money and good neighbourly relations — from...
A practical guide to when muck goes on, how to get it right for your soil, and the local rules worth checking first.
Hedges, post-and-rail, stock netting and dry stone walls each suit different jobs — here is how to pick the one your...


A cozy nook for countryside living and nature..
